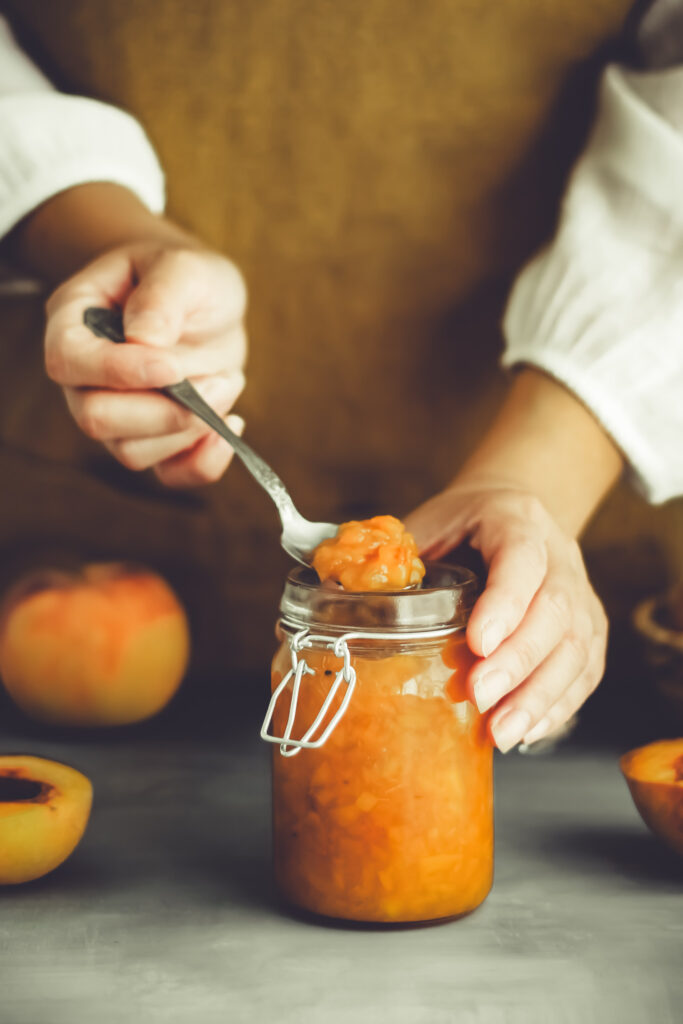
Homemade Peach Jam made with fresh peaches with a hint of vanilla bean. With a few ingredients, this peach jam is so easy to make at home! It’s the perfect pairing for breads, biscuits or yogurt.

I know the peach season rolls around when auntie comes over with a huge bag of peaches picked fresh from her garden. Much as we love fresh, juicy peaches, we enjoy eating them ripe, sometimes dipping those slices in salt and pepper for a deeper flavor or making delicious recipes with them.
But we will not be able to consume them all no matter how much we eat or bake with them. Making jams is a great way to preserve the flavors of summer, so you can feel like you’re enjoying fresh summer fruits any time of year.
PREPARE YOUR JARS
Before getting your hands on the cooking process, you’d want to prepare your jars, including the lids and bands. Make sure you wash and rinse everything thoroughly and let them dry completely.
In order to make the jam last longer, I’d like to sterilize the jars, with the lids and bands in the oven. After cleaning the jars and letting them air dry completely, I place them upside down on a clean baking sheet and put them in an oven that has been preheated to 350°F (175°C) for 10-15 minutes. Leave jars in the oven where they are hot and clean until you are ready to fill them with jam.

PERFECT PEACHES FOR JAM
When it comes to making jam, I’d prefer to use yellow peaches as they tend to be soft, sweeter, juicy and more flavorful than other peaches. You can also use frozen peaches to make the jam, make sure you thaw them overnight before using.
HOW CAN I TELL WHEN THE PEACH JAM IS READY?
The jam is ready when it’s thick and is able to pour off a spoon in a stream, not drip by drip. There are two ways to test if your jam is done:
- Use a thermometer and check the temperature when the mixture is cooking. If it reaches 220°F (105°C), it’s ready.
- Place some jam on a plate and put it in the freezer for 2 minutes, then run your finger through it. If the surface of the same wrinkle, the jam is done. If it is still quite liquid, put the pan back on the heat and boil the jam for another 3 to 5 minutes before testing again.
If you make this recipe, let me know by tagging me on Instagram or tell me all about it in the comments section down below. I’d love to see your creations from your kitchen
More Summer Desserts:

Homemade Peach Jam
Equipment
Ingredients
- 3 1/2 pound (1.5 kgs) whole ripe, fresh peaches
- 1 cup (200g) granulated sugar
- 2-3 tablespoons (30-45ml) freshly squeezed lemon juice, adjust to taste
- 1 vanilla bean pod, split lengthwise*
Instructions
- Prepare The Jars: Wash jars, lids and bands with dish soap and rinse thoroughly and let them air dry completely. Place them upside down on a clean baking sheet and put them in an oven that has been preheated to 350°F (175°C) for 10-15 minutes. Leave jars in the oven where they are hot and clean until you are ready to fill them with jam.
- Prepare The Peaches: Wash the peaches, remove the pits, peel the skin off and cut them into smaller pieces (1/2-inch pieces),or mash the peaches with a potato masher until you get the texture you want for your jam.
- In a large bowl, combine peaches and sugar and leave in the refrigerator for 4-6 hours. This will help the fruit release juice, which will make the jam more flavorful.
- Transfer the mixture to a saucepan, add in lemon juice and the seeds from the vanilla bean pod and cook over medium-low heat. Bring to a boil, stirring occasionally. Continuing boiling, frequently stirring and skimming off any foam that forms on the surface. The jam should boil for at least 10-15 minutes, until the temperature reaches 220°F (150°C) on a thermometer.
- Remove from heat and let the jam cool. The jam is ready if the surface wrinkles when you run your finger through it after placing some jam on a plate and putting it in the freezer for 2 minutes. If it’s still dripping, bring it to the stove and cook it for longer.
- Once it is done, using a jar funnel, pour the jam into each prepared jar and store in the refrigerator/freezer for a couple weeks. Make sure to leave about a 1/2-inch gap at the top of each jar to allow for expansion in the freezer.


No Comments