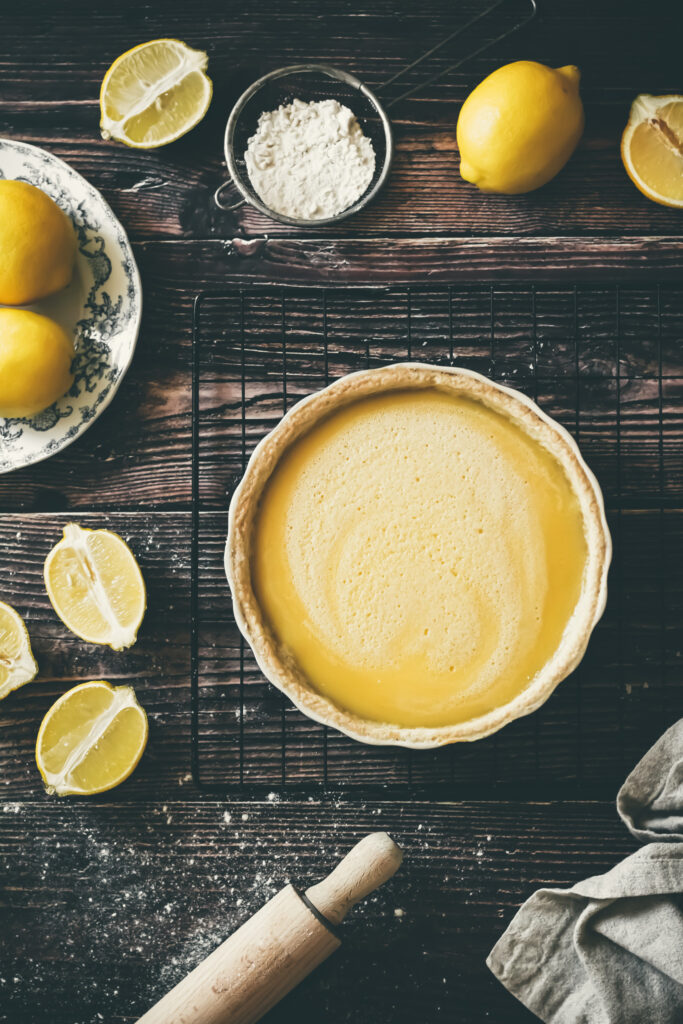
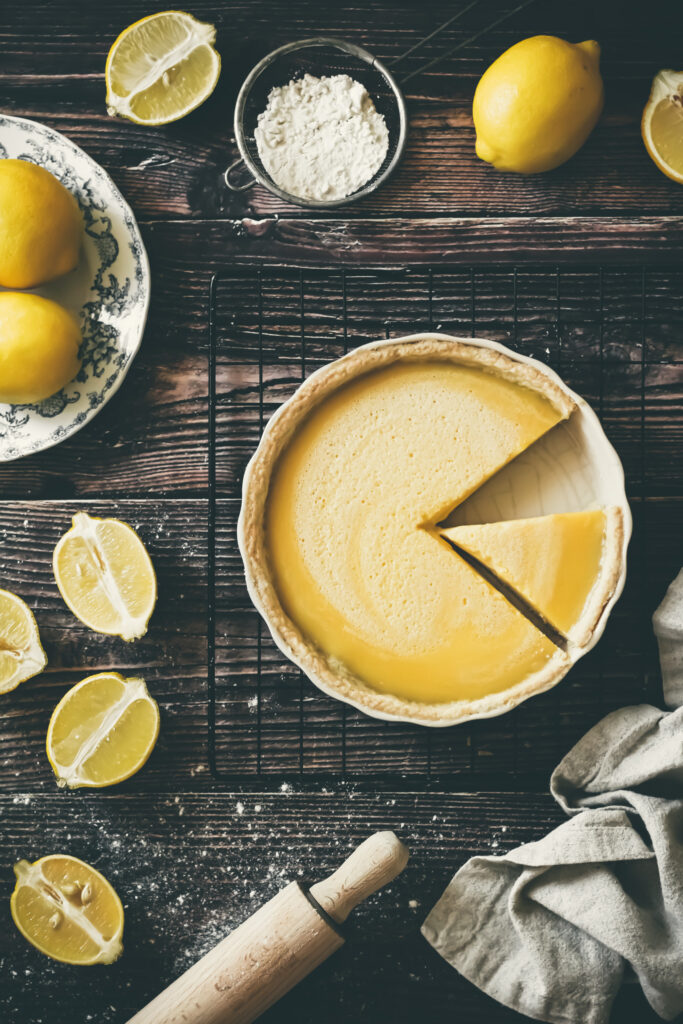
Made of a coconut crust and creamy dreamy lemon coconut filling, this lemon coconut tart will bring a bright freshness to your dessert table.

February is almost coming to an end. Although it’s still a little bit cold and breezy, spring is definitely coming on its way. Nothing can beat the sweet and tangy balance when it comes to spring or summer and this lemon coconut tart has it all. The filling combines the sour taste of lemon and richness of coconut and is paired perfectly with the coconut crust. This delicious lemon coconut tart requires 2 steps, and you can make it ahead of time if you are in short of time: make a crust and make a filling.

COCONUT TART CRUST
The crust of this lemon coconut tart is made of coconut flakes and all-purpose flour. I find that adding coconut flakes will not only add the flavor but also keep the crust moist. I love this crust so much that I can sneak some to eat on my own while I am making this tart (but I don’t feel guilty!). Grab your food processor and blend everything together except butter until very fine powder. Then add melted butter, make it a dough and press evenly over the tart pan. Bake the crust for 8-10 minutes until golden and let it cool completely while you’re making the filling.

PREPARE LEMON COCONUT FILLING
This tart filling is so creamy that you wish you could finish it by yourself because you will want to eat it over and over again. It has both lemon and coconut flavor! You just whisk everything together and bake. It even does not require a hand mixer. Start off with whisking eggs, sugar, lemon juice, lemon zest, coconut cream, a pinch of salt and vanilla extract together until they are combined. Then add stilted flour and whisk until there are no lumps remaining. Pour the filling into a baked cool crust and bake for 20 minutes until the filling is set.

BAKING TIPS
Poke the holes before blind baking crust. This allows the steam to escape so that the crust doesn’t puff up in the oven.
Use coconut cream. You will want a rich and creamy, melt-in-your-melt tart filling so I highly recommend using coconut cream instead of coconut milk. The difference between coconut milk and coconut cream is that coconut cream contains less water, giving thicker consistency.
Plan ahead. Although the steps required for this tart is easy, but it would take a bit of time to bake, chill and decorate. Lemon coconut filling needs to be chilled for several hours before serving or it will be too runny. So, plan ahead to have the best chilled tart that is ready to serve.
Top the tart with powdered sugar or whipped cream, or berries that you like. But it is just good as it is.

If you make this Lemon Coconut Tart, let me know by tagging me on Instagram or tell me all about it in the comments section down below. Happy baking
More Lemon Recipes:

Lemon Coconut Tart
Ingredients
For Coconut Crust
- 1 cup (130g) all purpose flour
- 1 cup (71g) shredded coconut
- 1 tablespoon (12.5g) granulated sugar
- 1/4 teaspoon (1.25g) salt
- 1/2 cup (1stick/113g) unsalted butter melted and cool
For Lemon Coconut Filling
- 3 eggs room temperature
- 3/4 cup (150g) granulated sugar
- 1 tablespoon lemon zest
- 1/2 cup (120ml) freshly squeezed lemon juice (around 2-3 lemons)
- 1/2 cup (120ml) coconut cream
- 1/2 teaspoon (2.5g) salt
- 1 teaspoon (5ml) vanilla extract
- 1/2 cup (65g) all-purpose flour
Instructions
- Make coconut crust. Preheat the oven to 350°F/175°C. Grease an 8-inch tart pan and set aside.
- Process flour, sugar, shredded coconut and salt in a food processor for a few seconds until combined. Add butter and pulse until the dough is no longer dry and starts to clump together. This process would take around 15 seconds. Remove from food processor and turn dough to a lightly floured surface and form into a ball. Use your hands to press the dough firmly onto the bottom and sides of the tart pan, spreading evenly to the edges. Trim the edges of the pastry to fit the tart pan if needed.
- Use a fork to poke 6-10 holes into the dough then fill with pie weights or dried beans or rice, making sure they’re evenly distributed over the surface. Bake for 10 minutes then remove from the oven, let it cool.
- Make the filling. In a large bowl, whisk all the ingredients except flour until combined. Add in flour and whisk until no lumps remaining.
- Pour the mixture into the baked crust and bake for 18-20 minutes until the filling is set.
- Remove from the oven and chill in the fridge for at least 4 hours.
- Top the tart with powdered sugar. Store the tart in the fridge for up to 5 days.


2 Comments
Ena Nolan
March 1, 2021 at 6:00 amI follow your Instagram page (love the photos!) and had to give these a try since my mom just overbought lemons. They turned out perfect but I want more tangy taste I will add more lemon juice next time. Thanks for the recipe!
Thu Nguyen
March 15, 2021 at 6:22 pmHi Ena,
Thank you for your feedback . Sour taste level is adjustable and you can add more or less depending on your personal taste.